")
Braids are one of the easiest ways to style your hair at home—once you know the basics. If you’re searching for how to do braids in your own hair, you’re in the right place: this guide covers simple techniques, the right prep, and beginner-friendly methods you can practice in front of a mirror. You’ll learn classic braids, French and Dutch braids, and small tips that make your braids tighter, cleaner, and longer-lasting.
Why Braiding Your Own Hair Gets Easier (Fast)
Learning how to do braids in your own hair is mostly about finger positioning and muscle memory. The first few tries may look messy—totally normal. After a week of short practice sessions, most people notice:
* cleaner sections
* better tension control
* faster braiding speed
* longer-lasting braids
What You Need Before You Start
To make braiding easier and neater, prepare the basics:
* Wide-tooth comb (detangling)
* Rat-tail comb (clean partings)
* Hair elastics (small, snag-free)
* Bobby pins (for flyaways)
* Texturizing spray or dry shampoo (helps grip)
* Light styling cream or gel (optional, for sleek braids)
* Hair oil (tiny amount for shine at the end)
Pro tip: Hair that’s *slightly* “lived-in” (day 2 hair) usually braids better than freshly washed, ultra-soft hair.
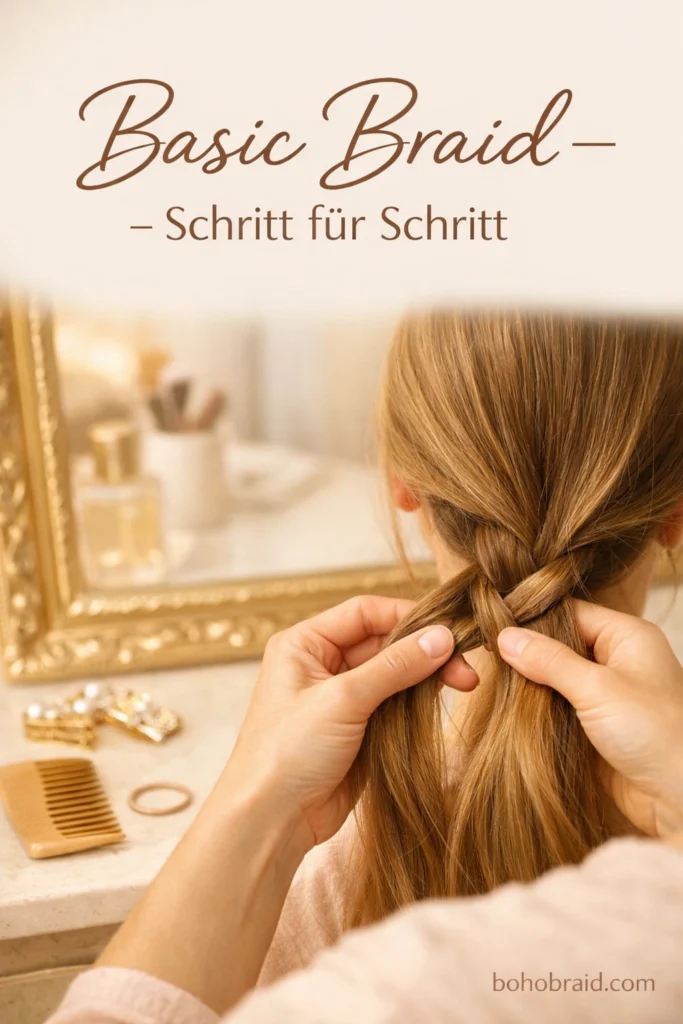
How to Do a Basic Three-Strand Braid on Yourself
The three-strand braid is the foundation for almost everything.
Step-by-step
1. Brush and detangle completely.
2. Gather hair into a low ponytail (optional but easier for beginners).
3. Split hair into three equal sections: left (L), middle (M), right (R).
4. Cross L over M (L becomes middle).
5. Cross R over M (R becomes middle).
6. Repeat the pattern: left over middle, right over middle.
7. Secure the end with an elastic.
Beginner tension trick
Keep your elbows close to your body and pull each cross-over gently downward to keep the braid tight.
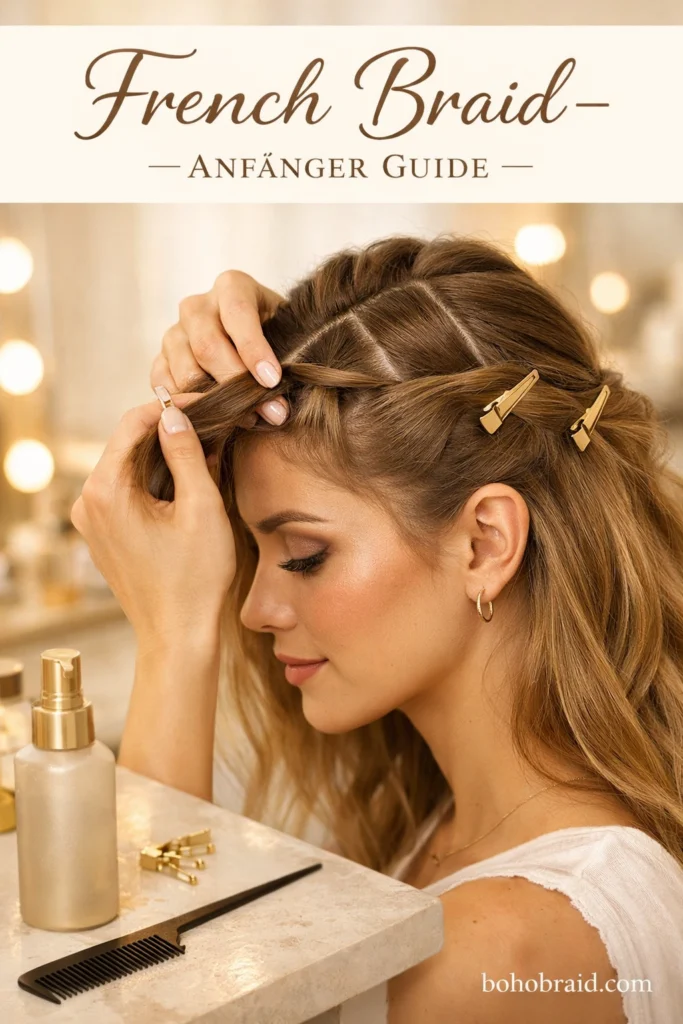
How to Do a French Braid in Your Own Hair (Classic Beginner Goal)
A French braid looks impressive, but it’s just adding hair as you go.
Step-by-step
1. Brush hair back and create a *top section* near the crown.
2. Divide that top section into *three strands*.
3. Start with one full braid cycle: *left over middle, right over middle*.
4. Now, *add hair*:
* Before crossing the left strand over the middle, pick up a small piece from the left side and combine it with the left strand.
* Cross it over the middle.
* Repeat on the right side: add hair + cross over.
5. Continue adding hair evenly until you reach the nape.
6. Finish the remaining length as a normal three-strand braid.
7. Secure with an elastic.
Clean sections tip
Use a rat-tail comb or your index finger to pick up thin, even pieces. That’s what makes a French braid look “salon neat.”
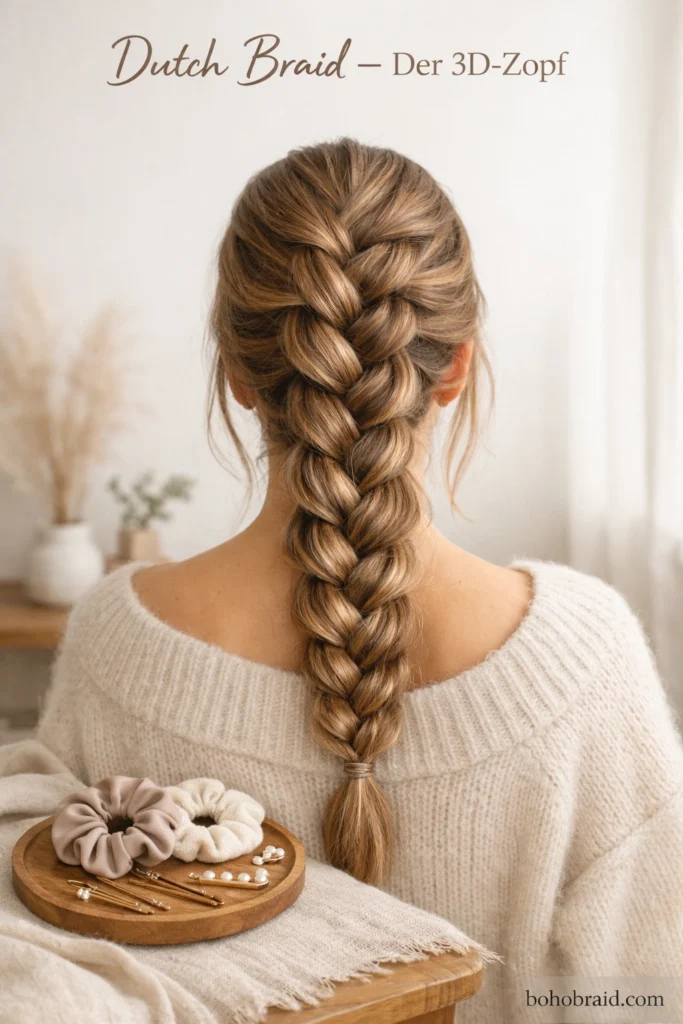
How to Do a Dutch Braid (The “Inside-Out” Braid)

Dutch braids look more raised and defined—great for photos.
The only difference
Instead of crossing strands over the middle, you cross them under.
Step-by-step
1. Start the same as a French braid: create a top section and split into three.
2. Begin braiding by moving left under middle, then right under middle.
3. Add hair to each side before crossing under.
4. Continue to the nape, then finish as a normal braid.
Result: more volume and a bold braid line.
How to Do a Side Braid on Yourself (Fast & Flattering)
If you want something quick for everyday, the side braid is perfect.
Step-by-step
1. Part hair slightly off-center.
2. Bring all hair over one shoulder.
3. Braid using the three-strand method.
4. Tug gently at the braid loops (called “pancaking”) for a fuller look.
5. Secure and pin any loose pieces near the ear if needed.
How to Do Two Braids on Yourself (Double French or Dutch Braids)
Two braids can be sporty, cute, or protective—depending on how tight you braid.
Step-by-step
1. Make a clean middle part from forehead to nape.
2. Clip one side away.
3. Braid the first side (French or Dutch).
4. Repeat on the second side, trying to match section sizes.
5. Secure both ends.
Tip for symmetry: Start both braids at the same height on your forehead.
How to Make Your Braids Look Neater (Even If You’re a Beginner)
If your braids look uneven, don’t worry—these small changes fix most issues:
Control your sections
* Try smaller sections for better control.
* Keep section size consistent left vs. right.
Use product for grip
* Dry shampoo or texturizing spray helps hair “hold.”
* A pea-sized amount of styling cream reduces frizz.
Keep steady tension
* Pull strands gently after each crossover.
* Don’t yank—tight braids shouldn’t hurt.
Finish like a pro
* Smooth flyaways with a tiny drop of oil.
* Secure with elastics that won’t slip.
* Add pins at the nape if your hair is layered.
Common Mistakes When Braiding Your Own Hair (And Easy Fixes)
My braid gets loose at the top
Fix: Start with a smaller, tighter top section and keep tension from the first 2–3 crossovers.
“My arms get tired”
Fix: Braid in stages, pause, and keep elbows close to your torso.
My French braid looks bumpy
Fix: Pick up thinner pieces and comb sections with your fingers before adding.
The ends look messy
Fix: Braid a little farther down before tying, then wrap a small strand around the elastic (pin it under).
Conclusion
Learning how to do braids in your own hair is one of those skills that improves quickly with repetition. Start with a basic three-strand braid, then move to a French braid, and finally try a Dutch braid for extra volume. With clean sections, steady tension, and the right prep, your braids can look polished—even if you’re a complete beginner.
FAQs
How do beginners braid their own hair?
Beginners should start with a **low ponytail three-strand braid** to learn the left-over-middle/right-over-middle pattern. Once that feels natural, practice adding hair for a French braid.
Is it easier to braid wet or dry hair?
Most people find it easier on **slightly dirty or dry hair** because it has more grip. Very wet hair can slip and stretch, especially if it’s fine or fragile.
How do I make my braids tighter?
Use consistent tension, smaller sections, and braid close to the scalp (for French/Dutch). A texturizing spray can also help hair hold the braid better.
Why does my braid look uneven?
Uneven braids usually happen because the side sections aren’t equal or the tension changes while braiding. Focus on taking similar-sized pieces and tightening gently after each crossover.
How long does it take to learn to French braid your own hair?
Many beginners can get a usable French braid in *1–2 weeks* with short daily practice. Clean, even sections usually improve the most over time.
What braid is easiest to do on yourself?
The easiest is the basic three-strand braid, followed by the side braid. French and Dutch braids take more practice because you add hair as you go.